
Pricing Portrait Sessions for Small UK Photography Businesses
Why Leading Lines Work
Leading lines are the quiet workhorses of composition. They do not shout, they simply take the viewer by the hand and walk them through the frame. A line can be a road, a fence, a river, a row of railings, the seam where a wall meets a pavement, or the edge of a shadow across a beach. Its job is to create depth, suggest movement, and point at whatever you have decided matters most.
The reason they feel so natural is that we read images the way we read a page. Our eye enters at one edge and follows whatever invites it inwards. When nothing invites us, the eye wanders and the picture feels flat. Give it a kerb, a path, or a stretch of towpath and suddenly the two-dimensional print has a third dimension.
Better still, lines can carry meaning. A path curving towards a lone tree says "walk with me". A diagonal railing cutting across a street says "hurry". The same scene shot from a different angle can feel calm or urgent depending on which line you choose to lead with.
Where to Look in the British Landscape
We are lucky in the UK: our countryside is criss-crossed with ready-made lines, and many of them are centuries old. Once you start looking, you will see them everywhere.
- Dry stone walls in the Yorkshire Dales and Peak District, which snake over hillsides and draw the eye towards a distant barn or fell top.
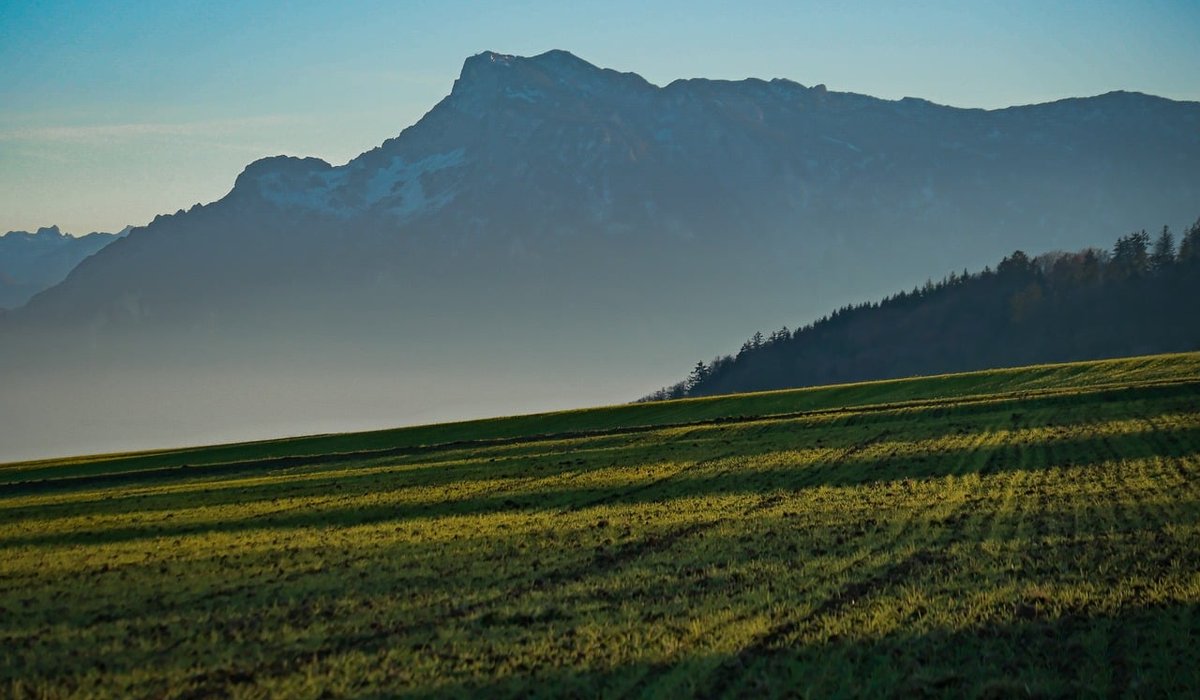
- Field furrows and hedgerows — get low and shoot along them rather than across them and the whole field gains depth.
- Canal towpaths and riverside paths, which curve beautifully and give you a natural route into a lock, bridge or boat.
- Groynes, breakwaters and low-tide sand ridges on the coast, especially at dawn when the wet sand reflects the sky.
- Fence posts, gates and stiles, particularly in mist, where each post fades a little further into the grey.
The practical trick is height and proximity. Crouch until the line of the wall sits just below your horizon, and step closer until the line begins almost at the bottom corner of your frame. A wide lens exaggerates this convergence, which is why 24mm on a full-frame camera or 16mm on a crop body is such a useful focal length outdoors.
Streets, Towns and Architectural Edges
Urban scenes offer harder, straighter lines, and they suit both street photography and the sort of images small creative businesses need for their websites. Look for:
- Kerb edges, double yellow lines and white lane markings.
- Rows of Victorian terraces, chimney pots and repeating window frames.
- Railway platforms, footbridges, underpasses and covered arcades.
- Steps, stairwells and the raking edge of a modern glass frontage.
- Market stalls, awnings and café tables in a run along one side of a square.
In street work, the line and the subject usually arrive separately. Find your line, frame it, then wait. When a cyclist, dog walker or hurrying commuter enters the gap where the line is heading, you have your photograph. Patience here is worth more than any lens.
Portraits, Weddings and People
With people, the rule is simple: the line must point towards your subject's face or hands, never away from them. A path leading past someone and out of the frame will pull attention off them and leave the picture feeling accidental.
Useful lines with couples and families include the aisle of a church or venue, a colonnade, a row of string lights, the edge of a long banqueting table, a garden path, or even the diagonal of a fallen branch. For a single portrait, a wall, railing or corridor edge running behind and above the sitter at a slight angle gives depth without competing with the eyes.
Watch the head. A line that stops dead behind the crown, or slices through the neck, will read as a mistake. Nudge your feet half a metre to the left or right and the line will resolve itself cleanly into the background.
Camera Craft and Composition Choices
Before you press the shutter, scan the edges of the frame and ask where each line begins and ends. Lines that exit at a corner feel tidy; lines that dribble out halfway along an edge feel unresolved. For landscape work, focus roughly a third of the way into the scene and stop down to between f/8 and f/11 so the near end of the line stays crisp.
Do not be afraid of the diagonal. A horizon is horizontal, but a fence running away from you is a diagonal, and diagonals are inherently more dynamic. Tilting the camera slightly is not the same thing — keep the horizon level and let the subject's own geometry do the work.
Editing and Making the Lines Earn Their Keep
In editing, your aim is enhancement rather than invention. Straighten so the horizon is true, then use a gentle burn along the leading line and a light dodge on the destination point — the cottage, the face, the still water. A subtle vignette can quieten distracting corners, and lifting contrast slightly in the darkest part of the line will strengthen its pull. Resist over-sharpening; crunchy edges break the illusion of depth rather than supporting it.
If you shoot for clients, leading lines are quietly commercial. A homepage hero image where a path, counter edge or table row points towards a product or a clear patch of sky for a headline will outperform a flat, centred shot every time. Shooting a series of images that share the same line — a wall, a road, a colour — gives your social feed a coherence that clients notice, and it makes your work look considered rather than lucky.
Start with one scene you walk past every day. Find its line, get low, move until the line begins in a corner and ends somewhere worth looking at, and shoot it. Then do the same scene tomorrow from the other side. That single habit will improve more of your photography than any new lens.
LEAVE A COMMENT