
Writing a Photography Contract That Protects Everyone
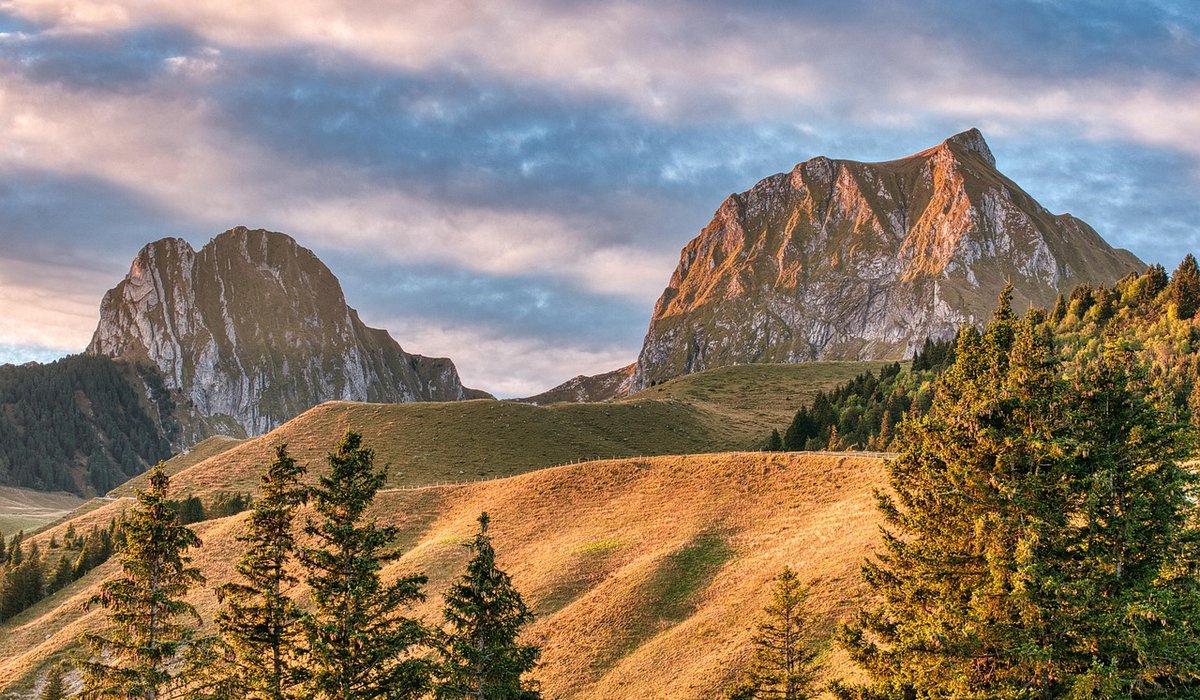
Wide landscapes are seductive. You stand on a hillside in the Peak District or a clifftop in Pembrokeshire, the view stretches to the horizon, and you raise the camera expecting the photograph to carry the same weight as the moment. It rarely does. What comes back is a thin strip of land, an enormous empty sky, and none of the depth you felt standing there. The problem is almost never the view itself. It is that nothing in the frame is doing the work of pulling the eye inward.
Why a foreground element changes everything
A landscape photograph works on the same principle as a stage set. If everything sits at the same distance, the scene flattens. Place something close to the camera — a boulder, a clump of thrift, a wet strand of kelp, a tussock of moorland grass — and you create an immediate sense of near, middle and far. The eye enters at the bottom of the frame, travels along the textures, and arrives at the distant hills with a sense of having journeyed there.
That anchor does something else useful: it gives the viewer a scale reference. A lone limestone pavement in the foreground tells you how big the valley behind it really is. Without it, distant hills can look like painted scenery.
Choosing foregrounds that belong
The best foreground is one that is already part of the landscape, not something you have imported into it. In the UK we are well served for this.
- Coast: wet slate, rounded pebbles, rock pools, marram grass, weathered groynes. Low tide exposes all of it, so check the tables rather than guessing.
- Uplands: gritstone edges, granite boulders, cotton grass, heather in late summer, dried bracken in autumn.
- Lowland and rivers: reeds, fallen branches, fence posts, stepping stones, slow-moving water.
- Woodland: roots, mossy stumps, leaf litter, bluebells in a narrow window from late April through May.
Ask yourself whether the foreground has its own texture or shape worth looking at. A shapeless patch of dull mud is not an anchor; it is dead space. Look for repeating pattern, a strong diagonal, or a line that points toward the main subject.
Getting low and getting close
Most beginners photograph landscapes standing up at eye level. Drop the camera. Place a tripod at its lowest setting, or use a beanbag on a rock, and get the lens within half a metre of your chosen foreground. The perspective change is dramatic: the near element grows in the frame and the distant hills settle into a supporting role rather than dominating it.
A few practical points:
- Use a wide lens, roughly 16–35mm on full frame, but avoid tilting it down too far unless you want converging verticals.
- Set aperture around f/11 for depth of field; go to f/16 only if you genuinely need it, since diffraction softens detail beyond that.
- Focus roughly a third of the way into the scene, then check the image at 100 per cent. Live view magnification is your friend here.
- If the near rock is only inches from the lens and the hills are a mile away, consider focus stacking two or three frames rather than relying on one exposure.
Keeping the background in its place
The background should support, not shout. Two things most often overpower a frame: a blown-out sky and a distracting bright horizon line.
A polarising filter is worth carrying in almost every UK condition — it deepens a blue sky, cuts glare from wet rock and foliage, and works even in flat light for removing surface reflection. A graduated neutral density filter, or a soft-edged one, will hold back a bright sky while leaving land alone. If you prefer to work without filters, expose for the highlights and lift shadows later, or take two exposures and blend them by hand.
Compositionally, watch your horizon. Place it low if the sky is the weaker element, high if there are dramatic clouds worth the space. Beware of a horizon running straight through the middle, which splits the frame into two equal halves and leaves the eye nowhere to settle. Also check the edges: a half-seen fence post or a bright scrap of litter at the frame boundary pulls attention away from everything you have carefully arranged.
Water as a foreground and a bridge
Water is uniquely useful because it can occupy the foreground and reflect the background at the same time, linking the two halves of the picture. A puddle on a beach at sunset, a slow river winding toward distant hills, a rock pool holding a patch of sky — all of these unify the frame.
- Rushing water: around 1/4 to 1/2 second gives movement with texture.
- Smooth water: 2 to 30 seconds with a 6- or 10-stop ND filter, in still air, on a solid tripod.
- Reflections: a polariser can be rotated to either strengthen or reduce the reflection, so decide which you want before pressing the shutter.
Wind is the enemy of long exposures in Britain, so weight the tripod, hang a bag from the hook, and shield the camera where you can.
A quick field routine
When you arrive at a viewpoint, resist the urge to shoot immediately. Walk the scene. Find the foreground first, then position yourself so the background sits where you want it. Set the tripod low, frame roughly, and move the camera a few centimetres left and right — small shifts in position change the relationship between near and far more than any zoom adjustment.
Then check three things before you commit: is the foreground sharp at the point that matters; is the sky holding detail; and does the image still read clearly when you squint at it? If yes, you have balanced the two halves. If the distant hills still feel like the whole story, move closer to your anchor and try again. That extra five minutes of shuffling is usually the difference between a snapshot of a view and a photograph of a place.
LEAVE A COMMENT